
Platforms Supported: OpenCart 2.X, 3.X, 4.X & Magento
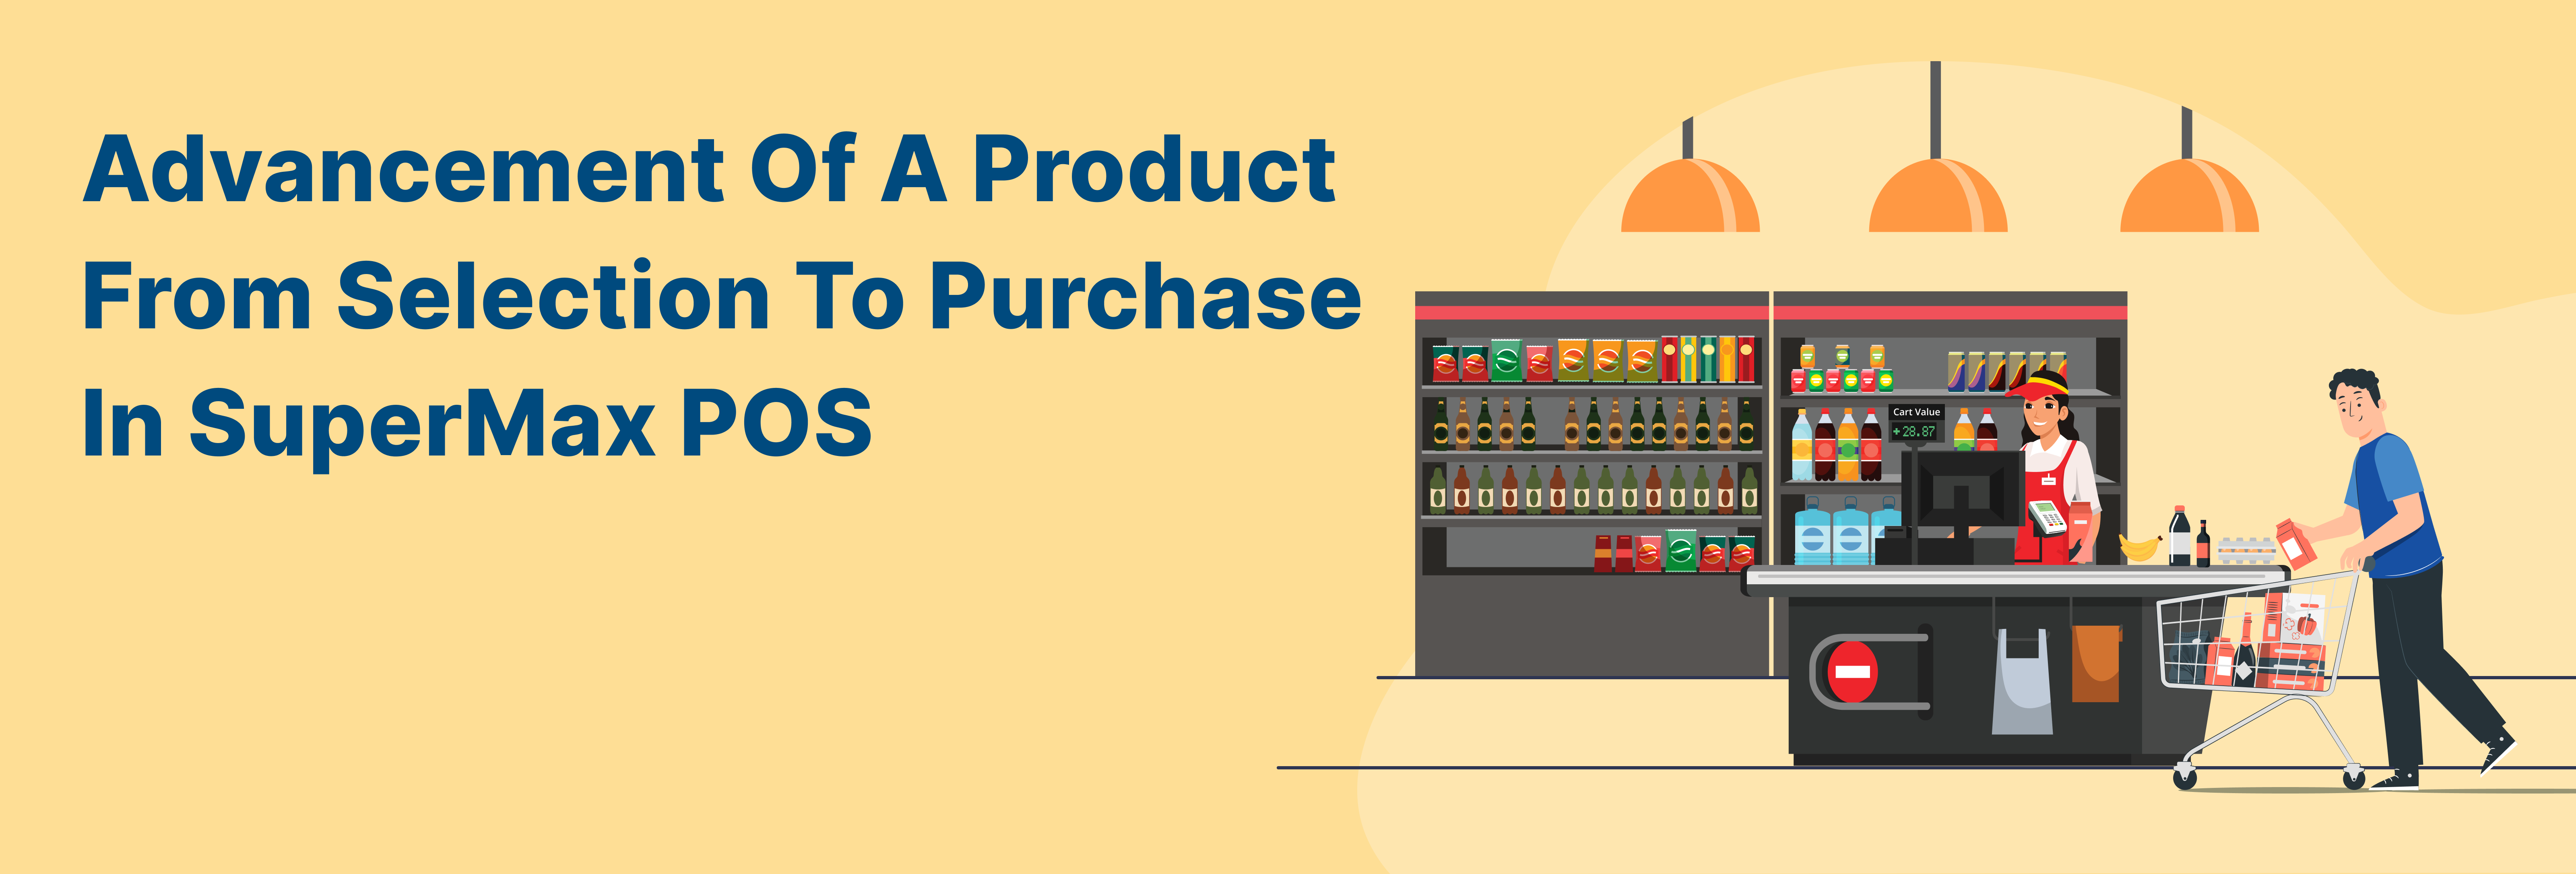
Product Selection to Product Purchase: A Functional Framework of Supermax POS
For business owners, a user-friendly POS set-up plays a major role in empowering the customer base. Whether it is initiating or finalizing the purchase, with SuperMax POS terminal it becomes easier to keep a keen eye on each product status. This terminal gives you an excellent product management feature with its user-friendly and intuitive design.
This blog is going to be all about the first step towards a product purchase, that is adding the products to the POS cart. However, first let’s take a quick look at the product display panel.
Status of Products
The product panel displays all the products that is marketed via POS.

Every product has its individual product card display that shows the image of the product, name, model, price, and discount icon.

On the top right corner, there is an icon info button. Upon clicking the icon info, the user can see detailed information of the product that includes name, model, price, quantity left, weight, length, width, and height.

However, if the product is out of stock, the product info icon shows in red. Upon clicking that, the product information dialogue box displays the quantity left as 0.
Products that come with a discounted price are shown in the following way:

There are also a few products which are available with colour and size options. To avail these options, click on the product name. For those available, a dialogue box like this pops up.

There are two colours, red and blue, and two sizes medium and high available for the product. The price of the product differs according to its size.
Adding the products to the cart
The real time stock status and detailed product information helps the POS user to always stay updated. With a smooth tap on the screen, you can add the products to the virtual basket. Given below are the steps to add a product (in stock), to the SuperMax POS cart:
- Click on the product (in stock), to add the product to the cart. You will hear a quick beep noise confirming that the product is added to the cart.
- The user can also add the product by manually typing the barcode or scanning its code. After adding the product, the name, and its model is shown.

3. The POS user now has the option to customise the price and quantity of the product.
4. Upon clicking on a product, a box extends towards the bottom. This box has a checkbox to add all the taxes to the changed prices. The POS user can also change the quantity in unit or weight(kg).

5. Type the quantity using the virtual keyboard or use the plus and minus sign to increase and decrease the numbers.
6. Click on the update button to add the changes or click on the delete button to remove the product from the cart.
Note: When an ‘out of stock’ product is added to cart, a dialogue box pops up that confirms if the POS user wants to add the product to the cart or now. However, if the product stock is not updated in the back end, the POS user cannot add the product to the cart.

Cart Details
After successfully adding the products to the carts, the total amount can be seen on the bottom. Click on the [Detail] option beside the amount.

A dialogue box pops up. This is the Cart Details window that shows the details of product.

Product details includes subtotal, VAT, Eco Tax, additional discount and other taxes along with the Total amount of the purchase. Given below is the Customer Name, Total Items, Total Quantity and Total Savings.
Take a moment to review the products in the cart and make the required adjustments before you place the order.

@4x")